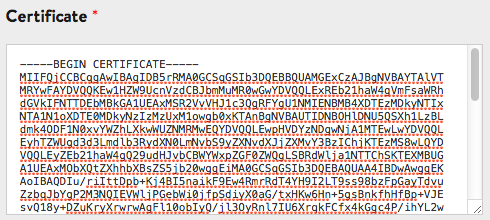
Self-signed certificate is very useful when you're trying things out, especially when you're on localhost, and you want to know how your application configuration behave with SSL in place. Here's how you can create a self-signed SSL certificate in 5 steps using OpenSSL, if you don't have OpenSSL installed, you can install it via Homebrew:
brew install openssl
Step 1: Generate a public & private RSA key pair (using 2048-bit). There's no need to provide any password for this, as we're just going to delete this later.
openssl genrsa -des3 -passout pass:x -out server.pass.key 2048Step 2: Export the private key to a file (server.key).
openssl rsa -passin pass:x -in server.pass.key -out server.keyStep 3: Remove the original key pair.
rm server.pass.keyStep 4: Generate a new certificate request using the private key.
openssl req -new -key server.key -out server.csrStep 5. Request a new certificate (server.crt) using the csr generated earlier.
openssl x509 -req -sha256 -days 30 -in server.csr -signkey server.key -out server.crtThat's all. Your self-signed certificate is done.
server.crt is the SSL certificate and server.key is the private key. Keep the private key safe.
Comments
Post a Comment